
In a past issue, I explained my personal plight with off-the-shelf header fitment. I’m sure some of you share or have shared in the past some of my frustrations with pipes that hit various “objects” inside the engine compartment (and maybe beyond). We looked at several options available, and those are semi-custom and custom headers. In my case, I stepped up to a set of Lemons Headers for my Nova build. Lemons, along with several other companies can accommodate applications where the deck is taller than normal, where the head ports are higher than normal, where ports have been moved and so on. They also offer engine swap headers and headers for applications with non-stock front subframe sections. And as we mentioned last time around, there’s more to the equation:
Once you have the basic configuration nailed down, Lemons offers lot of options for their headers. Many of the headers are built race car style (with individual tubes). That means the collectors are slip on with bolt-on tabs for each pipe. You can get some headers street-style with the tubes welded to the collector too.
That’s not the end of the options either. Again using Lemons Headers as the example, you can have EGT fittings installed (both 1/8-inch NPT and Race Pack style), O2 bungs installed, slip-on reducers, V-band connections for reducers, flanged reducers (3-inch, 3.5-inch and 4-inch); stainless steel header bolts, conventional header bolts, annealed copper header gaskets, ceramic coating (silver, black or titanium) and recently, electroless nickel plating.
Custom and semi-custom headers are often the same as regular headers when it comes to installation. Sometimes, it’s just the way you hold your tongue and purse your lips to get the headers installed correctly. But thanks to Lemons Headers there are some pretty good tips (below) that will help with fit, installation and header maintenance. Check it out:
“Header flange gaskets:
With all our headers we recommend using a flat gasket, either a fiber type or an annealed copper gasket. Do not use an embossed copper gasket that has a raised rib around the port. If we sent SCE flat annealed copper gaskets with your order we recommend applying a thin layer of Permatex Ultra Copper high temp silicone on both sides of the gasket port opening.
High temp anti-seize:
We recommend Permatex Copper Anti-seize to be used on header bolts and slip on collector mounting bolts. If your header has our slip on collectors, use a generous amount inside the slip on tubes. This will stop corrosion and help the collector to slip on much easier.
Individual header tubes:
If your header was built as a race style with individual tubes and slip on collectors, you will be installing one tube at a time. As you install each tube just snug the header bolts evenly, do not tighten. With all tubes installed, slip the collector on and tighten the mounting bolts. Then go back and tighten the header bolts.
Always check around header tubes for brake line, wiring and fuel line clearance.
Slip on collectors:
If your race header has been ceramic coated, there may be overspray inside the slip on tubes at the front of the collector. This should be smoothed off either by hand sanding with 80 grit sand paper or by using a 40 grit flapper wheel on a die grinder or high speed drill motor. Sand just enough to take the roughness off.
When installing slip on collectors coated or not, always apply a generous amount of high temp anti-seize to the inside of the slip on tubes. Cover the entire area inside of the slip on tubes. This will keep the connection from corroding and help the collector to slip on much easier. Our slip-on collectors are held on by tabs and bolts. One tab on each collector will be stamped left or right. The tab needs to match up with the stamped tab on the header tube.
Collector flanges:
If we are installing a 3 bolt style flange on the end of your collectors, we can clock the odd bolt up or down, your choice. A 4” collector will have a 4 bolt flange. For exhaust system connections we can use a flange type, a slip on type with mounting tabs on each side or a “V” band clamp type connection. Each has a different cost.
Ceramic coated headers:
When installing polished silver ceramic coated headers, they should first be wiped down with rubbing alcohol. Use a clean white cloth to apply the alcohol, then a clean dry white cloth to remove the residue. If your headers have slip on collectors, re-read the slip on collectors section (above). After the headers have been installed, repeat the alcohol cleaning process to any areas that are accessible. This will remove the fingerprints, grease, excess anti-seize, smudges, etc. Next start your engine and let it idle for about 5 minutes, then shut the engine off and let it completely cool down. Next run the engine again for about 10 minutes and then let it cool down. This process will help to bake the new finish on, making it tougher and will greatly reduce the chance of any dulling of the finish in the future.
Spark plug wiring:
For all of our Big Block and LS headers we recommend a 45 degree wiring boot and for all of our Small Block headers we recommend a 90 degree wiring boot.”
As you can see, there are more than a few options when off the shelf headers don’t fit. Totally tubular? Most likely. For a closer look, check out the accompanying photos:
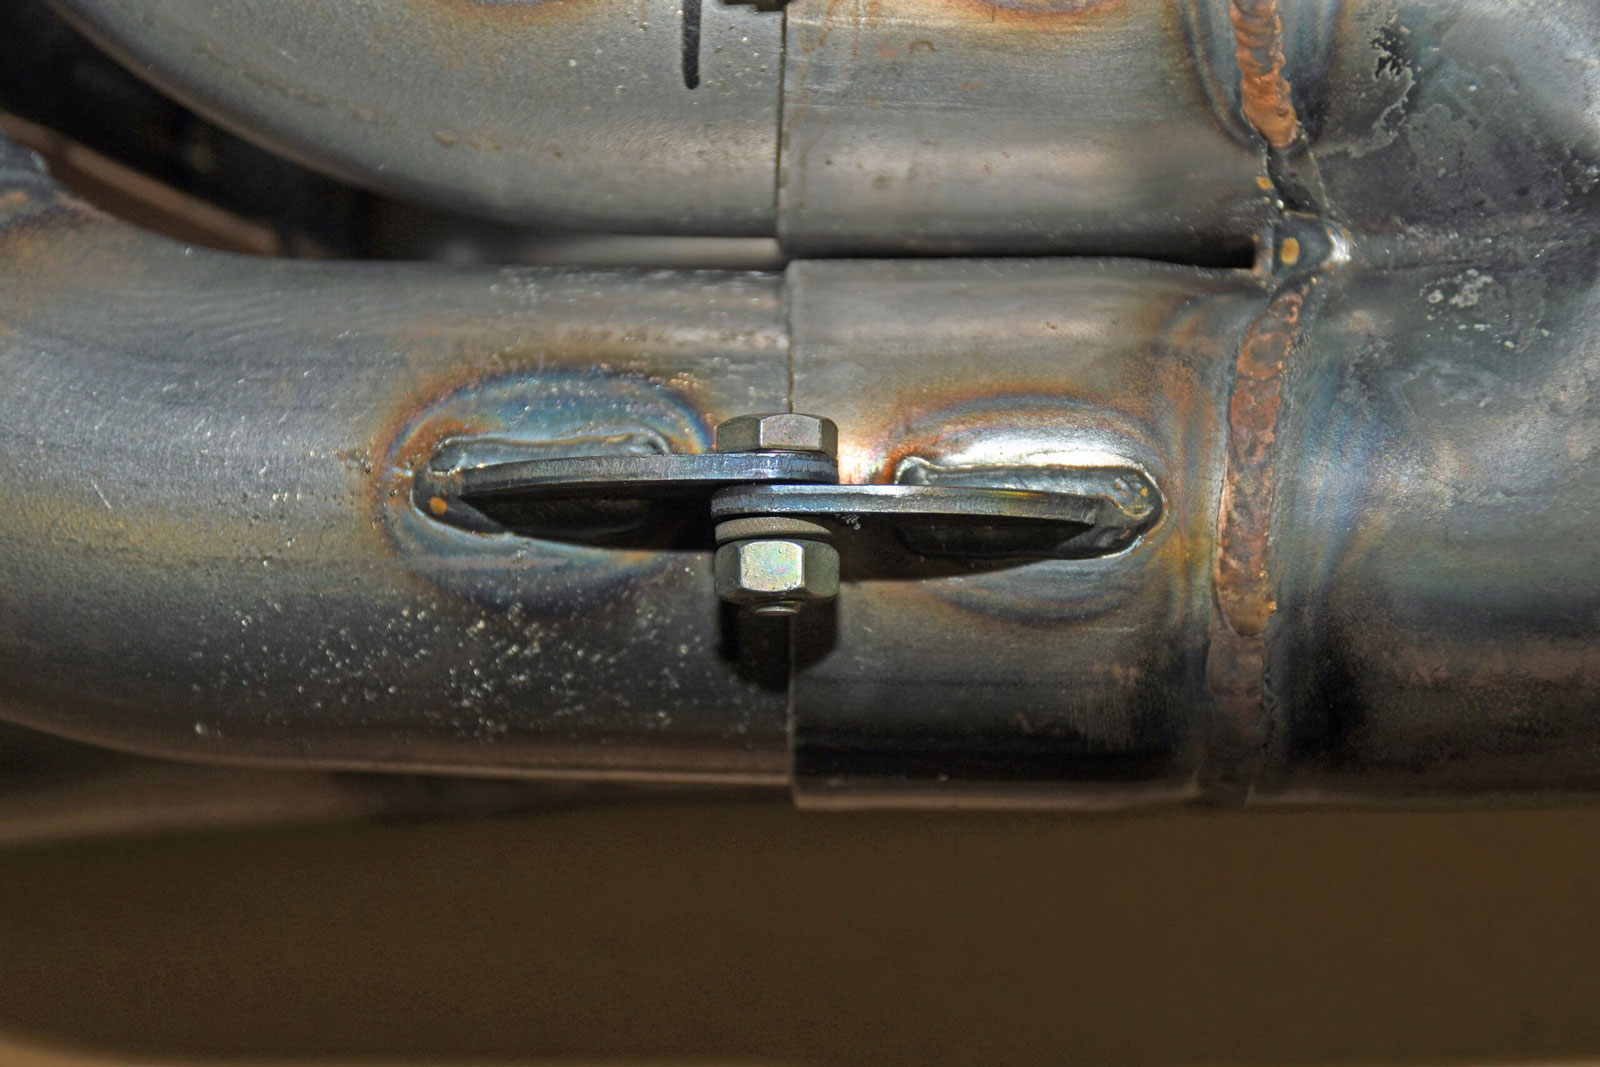
Photo 9: Typical for a race style header, each pipe is affixed to the collector by way of a bolt and tab arrangement.
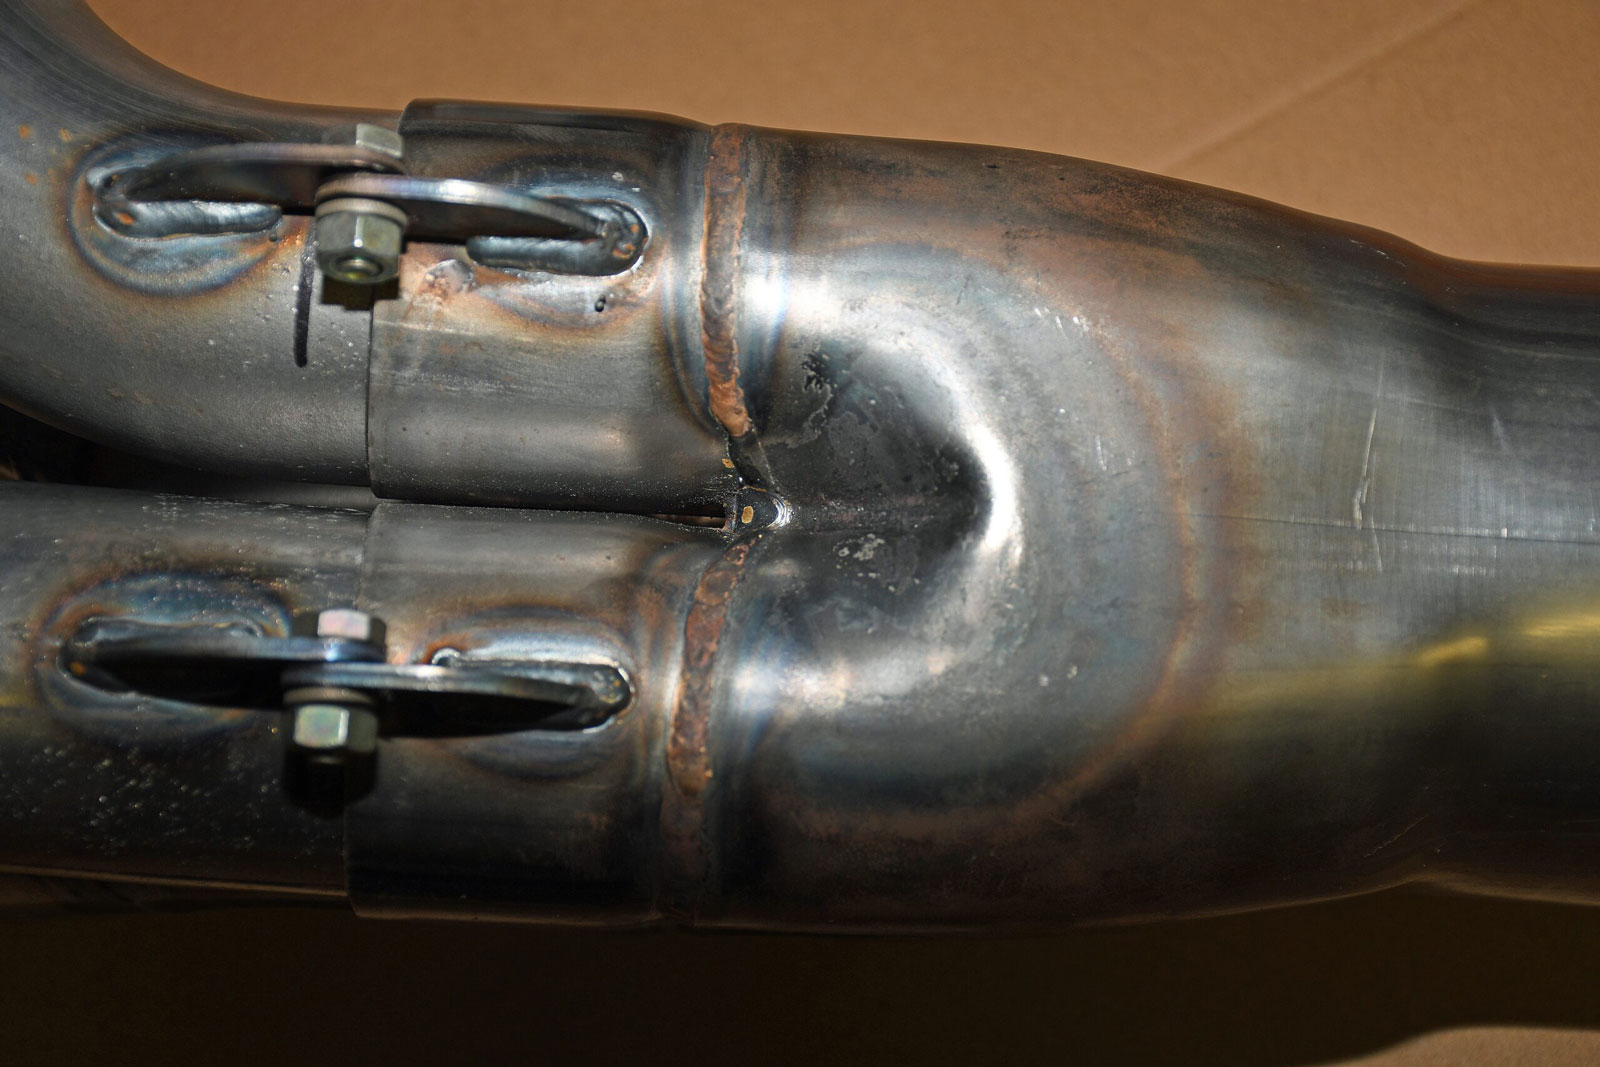
Photo 10: Here’s another look at the collector. Lemons Headers recommends you use high temperature anti-seize on each pipe in this location.
Photo 11 & 12: This is what the pipes look like installed in the collector. According to Lemons Headers, One tab on each collector will be stamped left or right. The tab needs to mate with the stamped tab on the header tube.
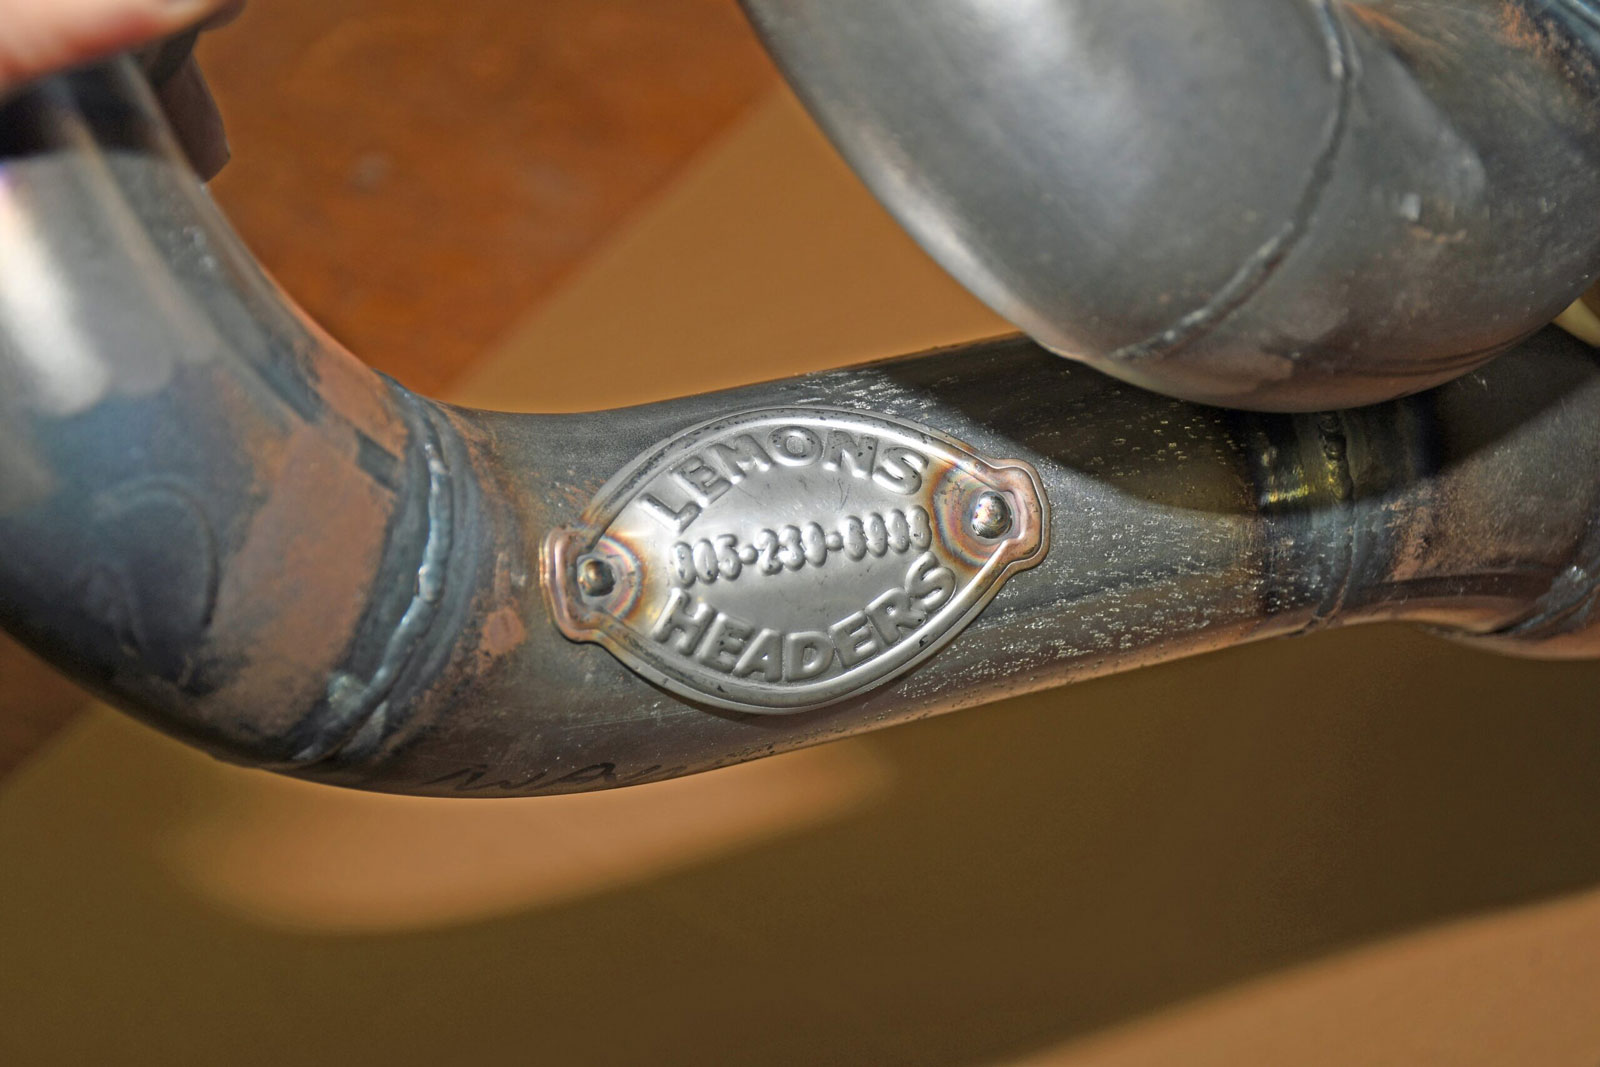
Photo 13: Typically, most of the custom builders affix a name tag to a primary tube in a conspicuous location.
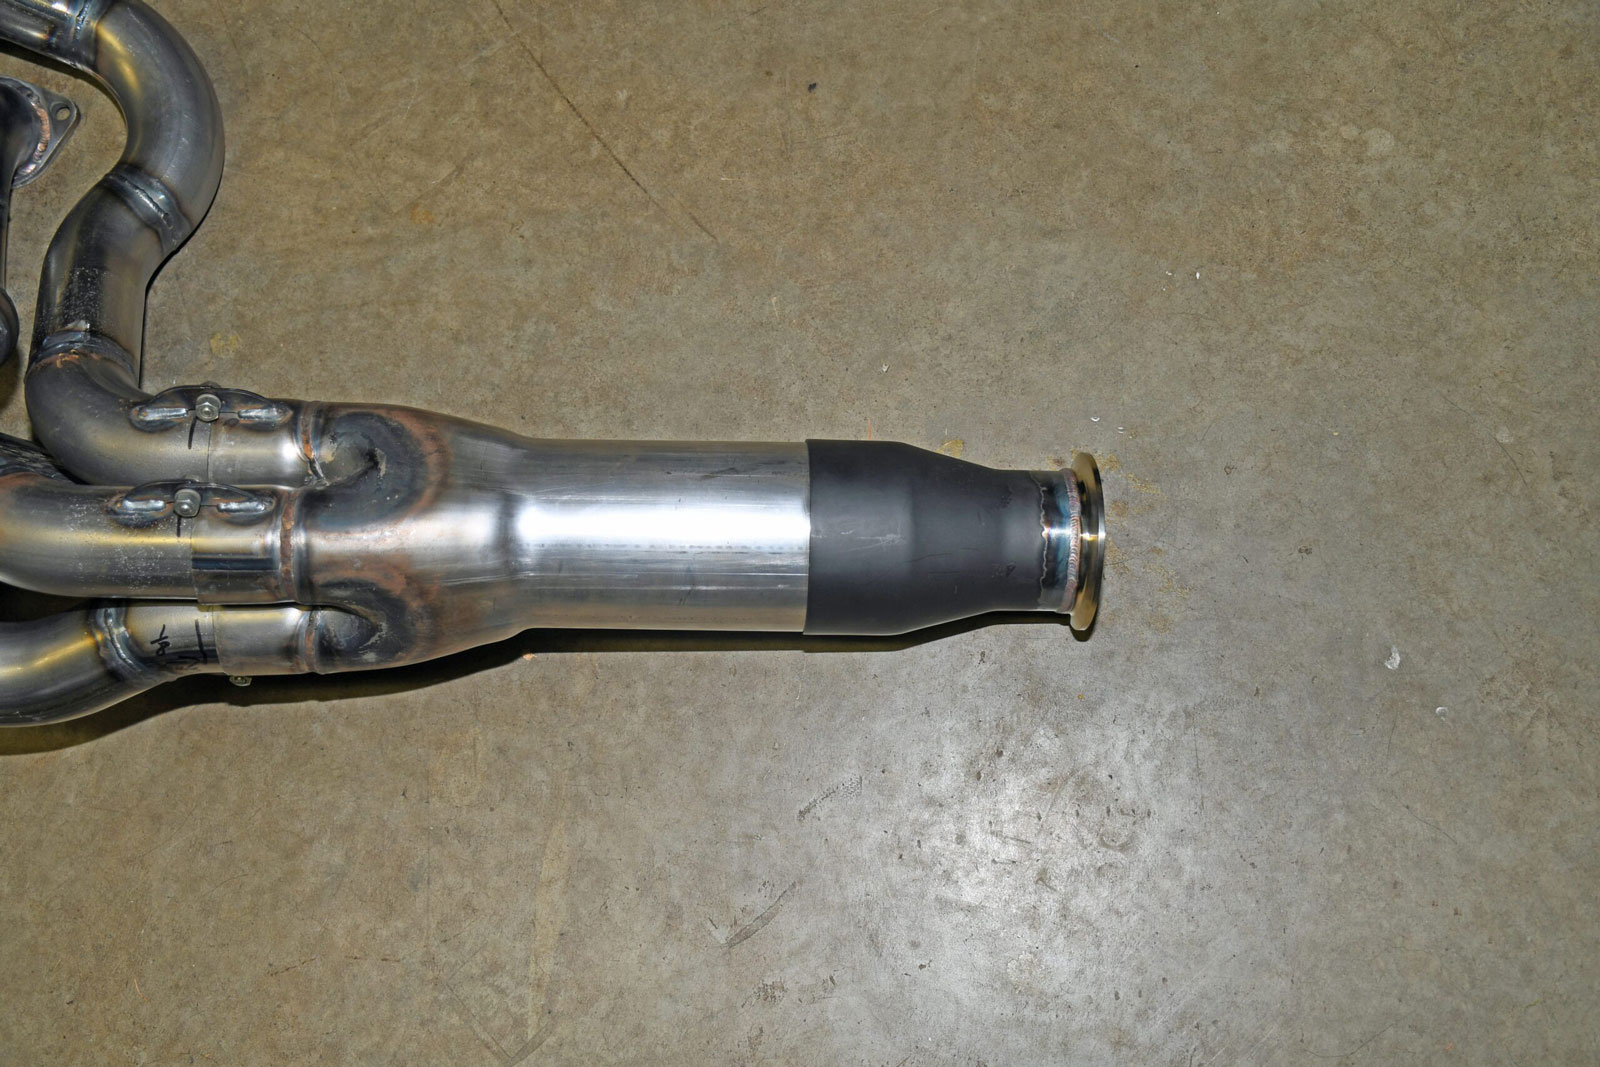
Photo 14: For my Nova application, I’m using a slip on reducer at the end of the collector. From there, it eventually hooks up to the exhaust system
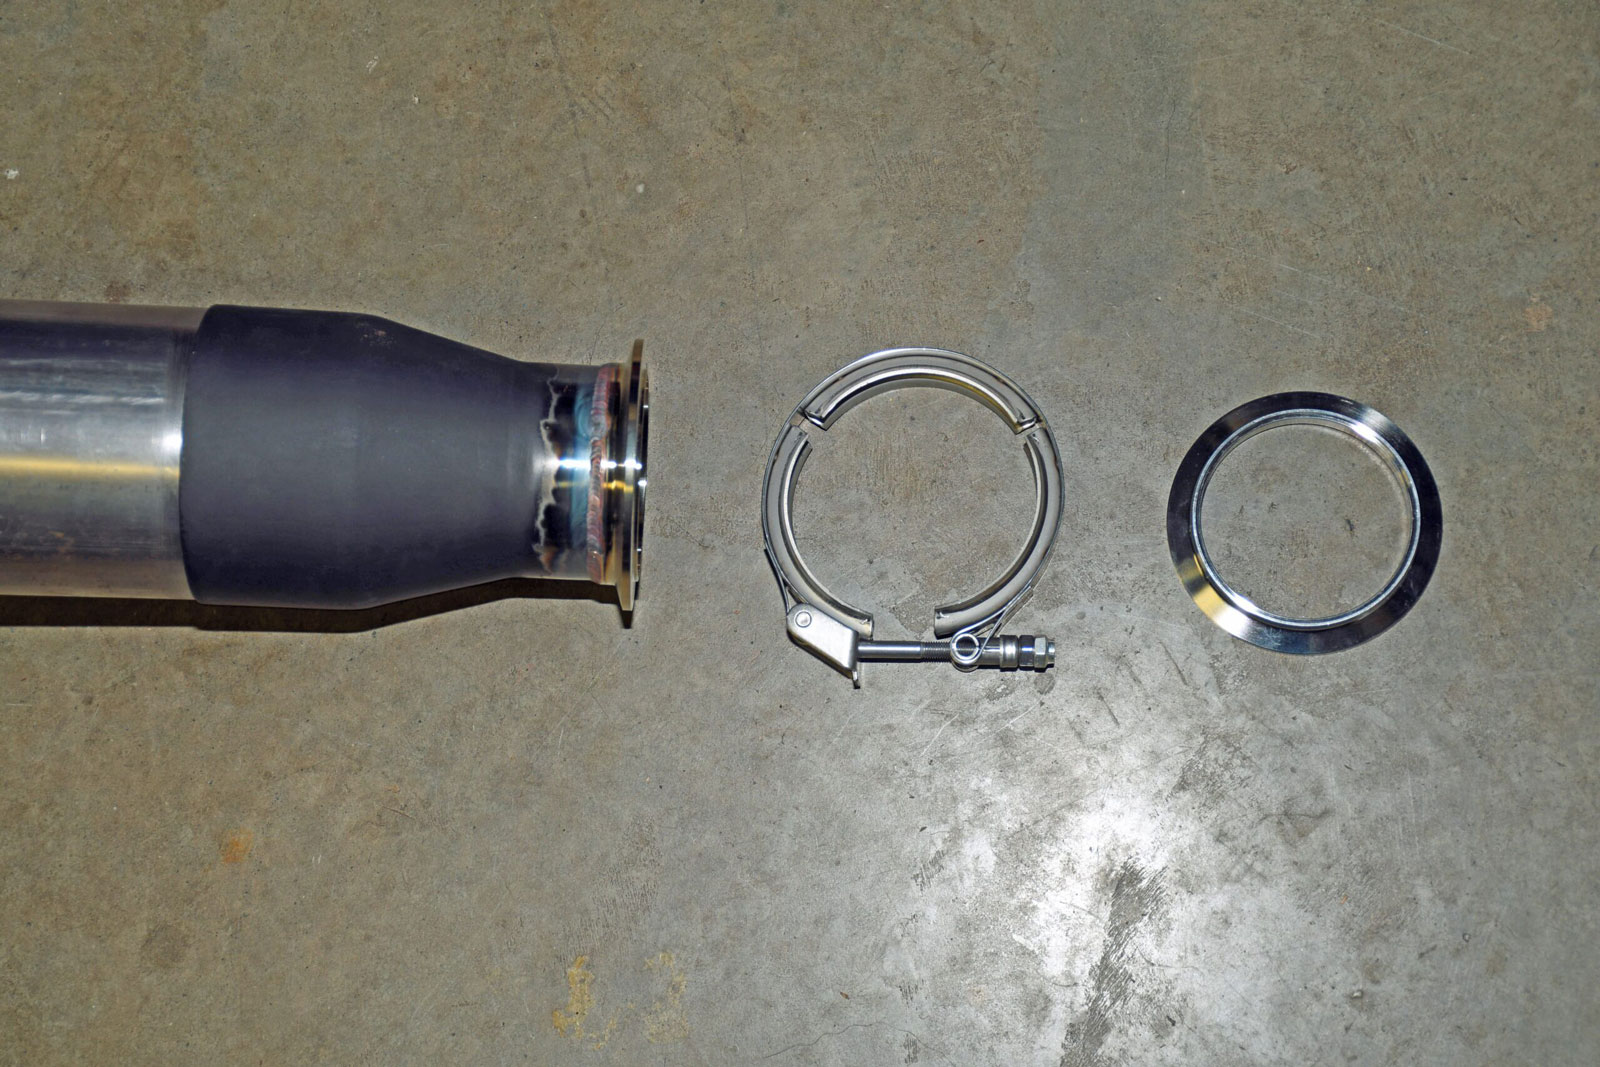
Photo 15: A v-band clamp setup is used to hook the headers to the exhaust rather than a bolt-on reducer. Although I came up with this arrangement for my own car, many of the custom header builders offer different street hook up reducer systems (including v-band clamps).
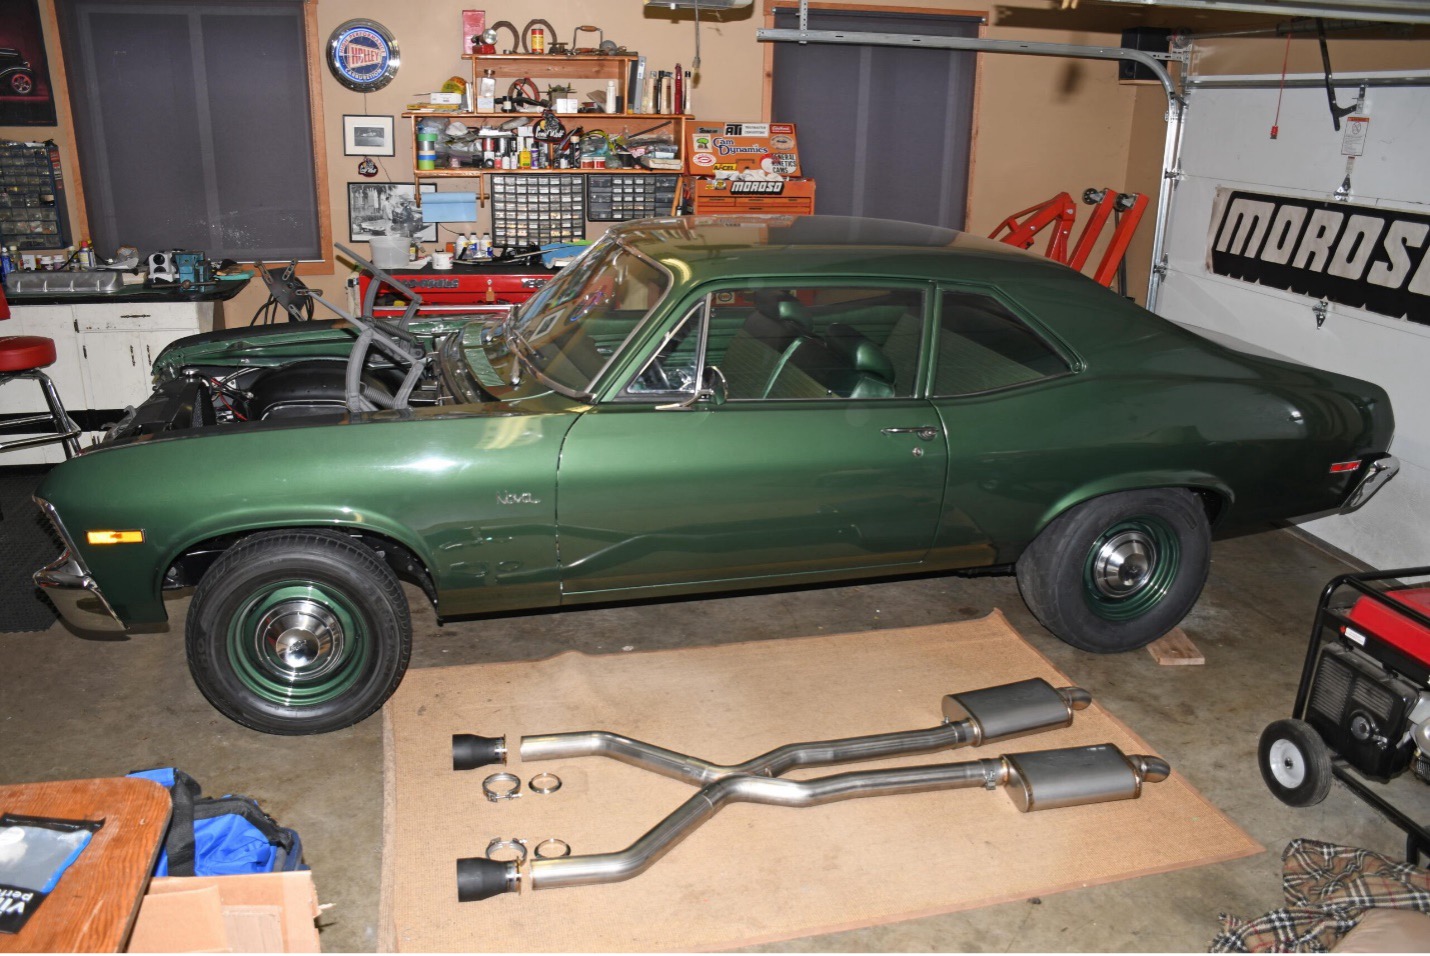
Photo 17: Once the headers are installed on the engine, in the car, I can adjust the head pipe length and weld on the rest of the v-band assembly. This is what my abbreviated exhaust system looks like
Byline: Wayne Scraba
Photo Credits: Wayne Scraba