In some car builds, the time comes when you realize there is no way on earth a stock, off-the-shelf header is going to fit. Sure, some can be persuaded to fit by way of modifications (hammer, bigger hammer, moving pipes, etc.), but there are many instances where that won’t even help. Or, the cost of the mods (moving pipes) is more than the cost of the headers.
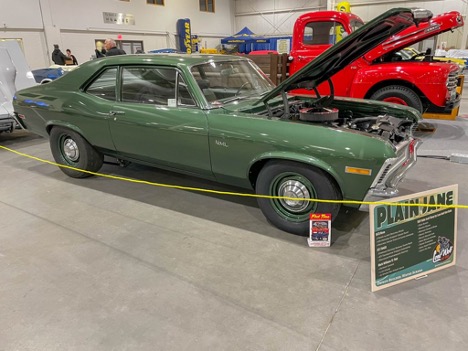
Sometimes something that seems insignificant can totally mess up header fit. I speak from personal experience, and I’ll share some of it with you. A good example is the Nova project I have and you’ve seen bits and pieces of it on these pages. It’s a pretty straightforward build and it also uses pretty common parts (1968-74 Novas and 1967-1969 Camaros share similar front subframes – as you can well imagine, the interchange and availability of hardware is considerable). The Nova is receiving a big block Chevy and the subframe is fitted with correct big block frame stands. It has manual steering, manual brakes and a heater delete. It’s a stick shift combination. I’m using a mini starter. It’s Simple City. Or so it would seem. An off-the-shelf header should drop right in. Maybe.
Here’s the rub: The Brodix BB3-Xtra heads I’m using on my large displacement big block have raised ports. In fact, they’re raised 0.600-inch. That’s a bunch. But I had a brand new set of 2.25-inch tube diameter Hooker race headers in my parts stash. I thought I’d give them a go and see if they could come close to fitting. What I did next was to mock up the engine. This consisted of a plastic mock up block, my Brodix heads, a Quick Time bellhousing, a clutch fork and basic clutch linkage along with a mock up four speed transmission. I bolted the works together, using the correct motor and transmission mounts (another story, but we’ll save that for another time). At this point, I attempted to install the headers (keeping in mind these were multi-piece headers and they’re technically easy to install). I started with the worst job, and that’s the driver side. Amongst other fit issues, the header tube for #5 cylinder would not fit because it interfered with the rag joint. I tried clearancing the tube with a press (basically, I use a piece of heavy wall pipe and a press to dimple the header tube rather than a sledge hammer – it’s cleaner). Following multiple attempts, it was pretty clear this tube would never work. It would have to be moved. And another tube on this side required massaging (at the least). Fair enough. Back to the passenger side. The fit on this side was equally frustrating. Here I’d need at least one, and most likely two pipes moved. Starter clearance wasn’t exactly fabulous either, even with the small Tilton starter I’m using. And finally, the headers obviously sat a bit high in the chassis (keeping in mind the ports are 0.600-inch higher up). Moving the ports up, also forces the headers outboard toward the fenders. As a result of this, I was experiencing fitment issues coming at me from more than one direction.
Something else you have to ponder when selecting headers is tube size. Yes, tube size influences power along with the point an engine produces power. But some of today’s cylinder heads have ports sufficiently large (or different in shape), shelf-headers aren’t available. Basically, what you don’t want is a header tube that is smaller than the exhaust port. If that happens, you’ll create a serious flow restriction in the exhaust; and not mention the gasket won’t last long.
Back to my situation: At this point, it was decision time. It would probably cost me a couple of hundred dollars (or more) in fab work to move the respective tubes. There was also the very good chance that I’d have to go back and modify more tubes once I had them close to fitting. Modifying them didn’t seem like such a great plan. Instead of cobbling up the headers and making a perfectly good set of adjustable race headers un-usable, I decided to sell them and put the proceeds toward the purchase of a custom header set.
There are a number of individuals and companies out there who will build semi-custom headers and/or custom headers for a given application. Mine came from Lemons Headers(POBox202,Paso Robles, CA 93447; PH: 805-239-8998; website: http://www.lemonsheaders.com).
Some of the shops have tooling setup for specific header applications. That way, if you have a tall deck block or raised ports, or an unconventional port location (amongst other things), the shop will build the headers to fit. But if you have something very unique (for example, something like, oh a 426 Hemi in a Gremlin), you’ll most likely need to take your car to the shop.
Using Lemons Headers as the example, you’ll find they offer custom headers for a wide range of Chevy applications – big and small block along with specific LS swaps. There are all sorts of options too: There are several different configurations for common cars – some with stock engine location; some with a big block on small block frame mounts (stands); some for big blocks on big block frame mounts (in the case of first gen Camaros, this moves the engine toward the passenger side); some for cars with aftermarket front clips; some for cars with a stock chassis and rack and pinion steering; some with a stock chassis and a dry sump pan and so on. Some of the configurations are available with tubing as large as 2.5-inches and collectors up to 5-inches in diameter (or a header muffler with a diameter of 6-inches). Small blocks can go up to 2.25-inch in tube size with a maximum collector diameter of 4-inches). You can specify step headers with your choice of dimensions too. Basically, name your poison!
Some headers will not fit cars with air conditioning. Ditto with column shifter linkage. With big tube custom headers, you’ll often have to trim one or more of the corners on the factory frame mounts (stands). According to Lemons Headers: “The stock front motor mount frame stand on the driver side hangs over the back of the “K” member about ¾”. The top back corner of this frame stand needs to be notched for header room.” When used with OEM rubber or aftermarket poly motor mounts, there might be some trimming of the mount involved. If you have a stick shift car with a big Lakewood style bellhousing, that too might need to be trimmed lightly on the outer edge adjacent the starter location. Oil pan kickouts can have an effect upon header choice too. Case-in-point is the fit of large tube race headers in first gen Camaros: Lemons Headers note: “if there is no oil pan kickout on the driver side, the (oil) filter is easily accessible, but if your oil pan kicks out under the filter, it will be trapped and you will need a remote filter”. The same applies to starters. Lemons advises that in many of their applications, a full size stock Chevy starter will not fit. You’ll need an aftermarket mini-starter. On some applications (for example, some Chevelle headers), a tube or tubes may go over and around the frame. This means the inner fender panels will require trimming.
That’s a wrap for this issue, but we’re far from done! Next time around, we’ll look a number of options available and we’ll also devote space to a series of installation tips, courtesy of Lemons Headers. Watch for it. There’s some good info there for everyone.
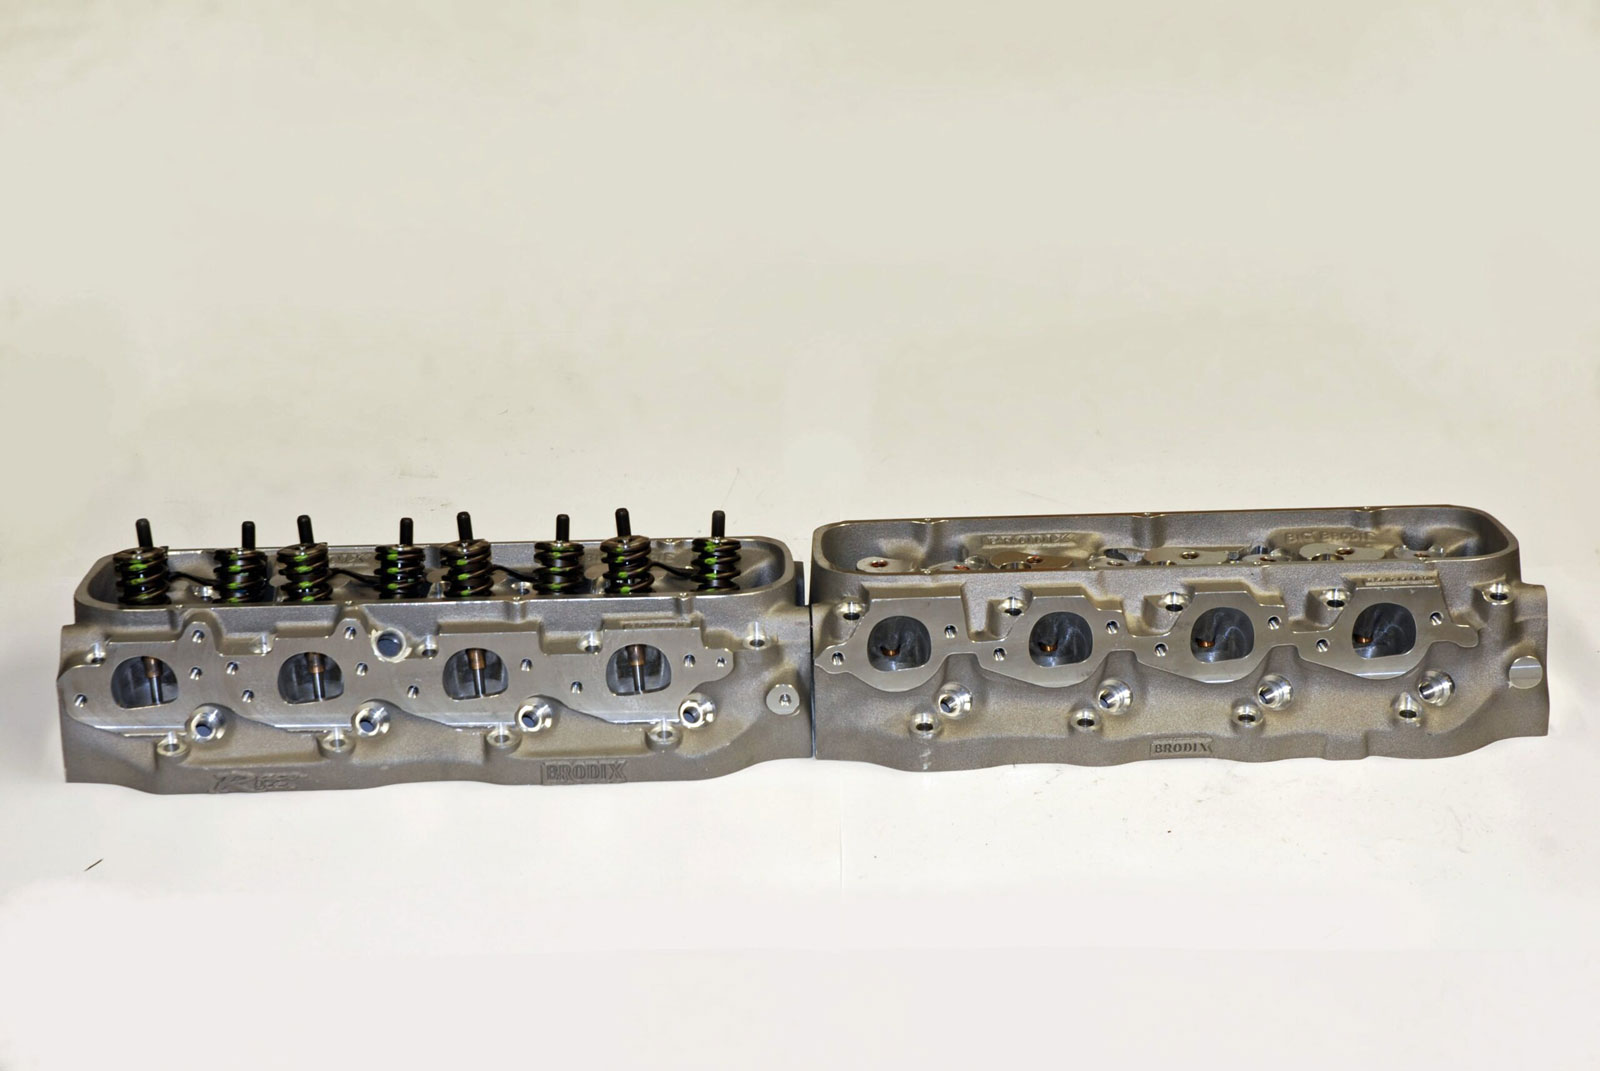
Photo 2: We’ve shared this photo on these pages before. But it provides graphic proof why headers for stock height ports (left) often run into interference issues when used with raised ports (right). FYI, those ports are raised 0.600-inch.
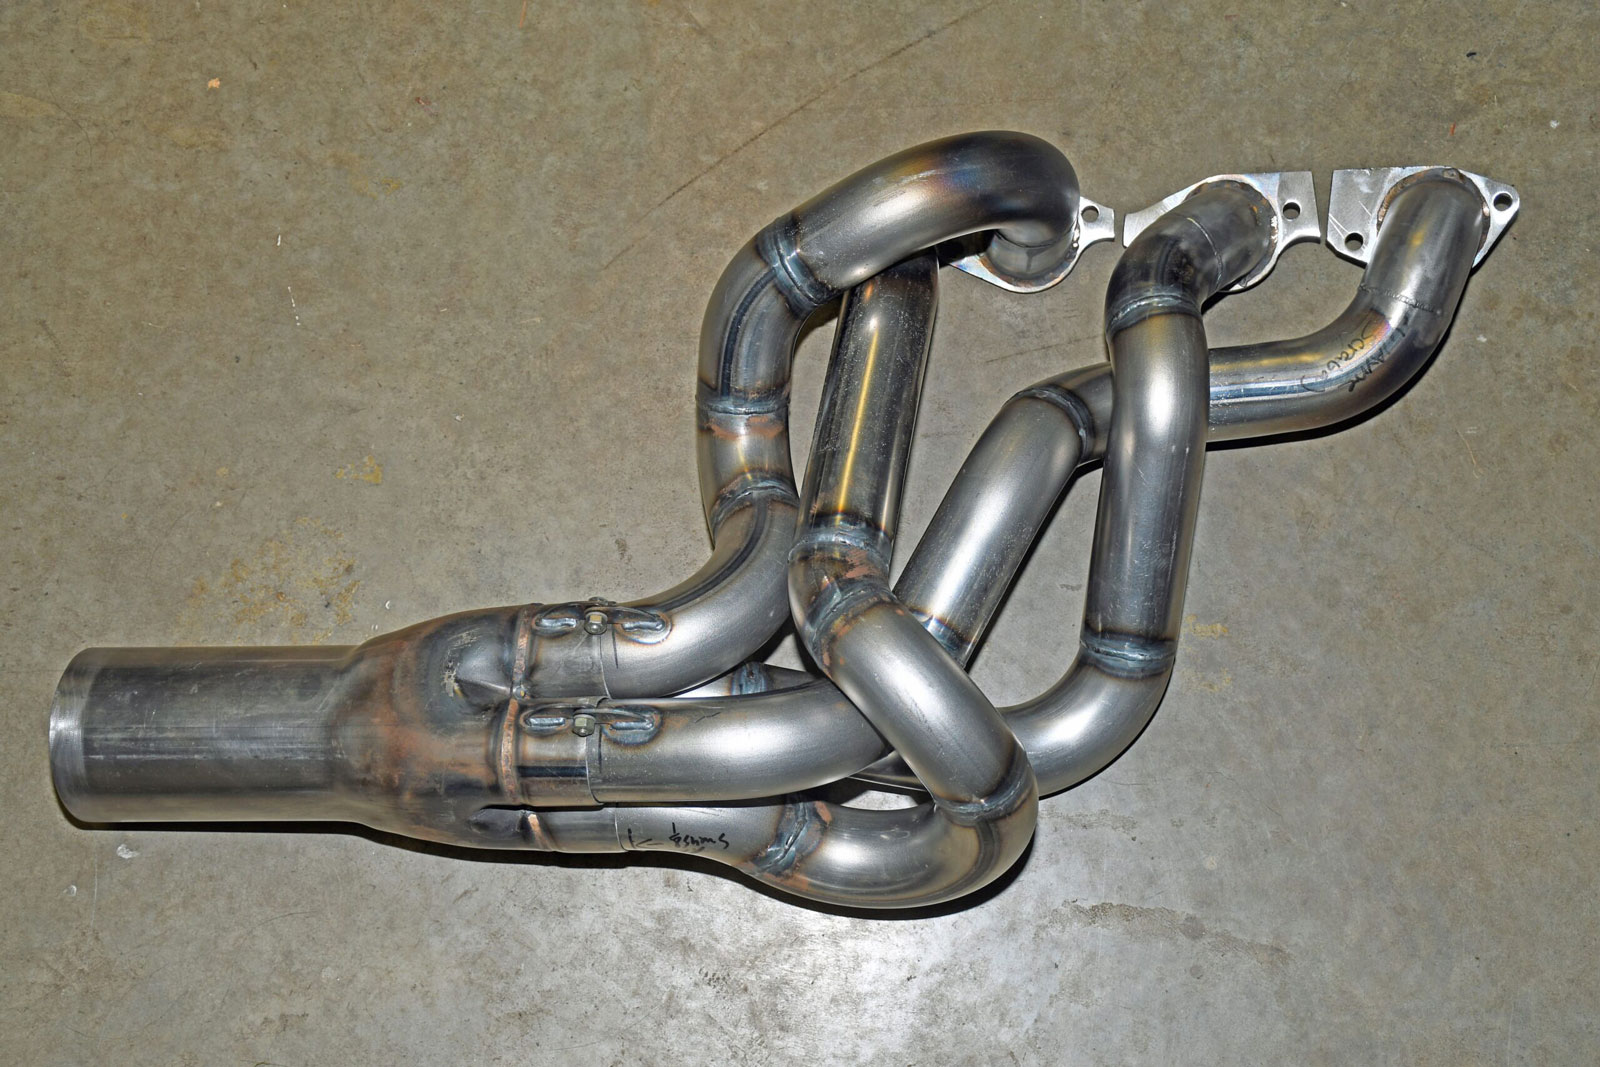
Photo 3: The solution is a custom or semi-custom header of some sort. This example (and ditto with the one in the next photo) came from Lemons Headers.
Photo 4: While the left side provided serious fit issues with my old headers, the right wasn’t much better. The Lemons headers fixed the issue. But they were made for the specific application.
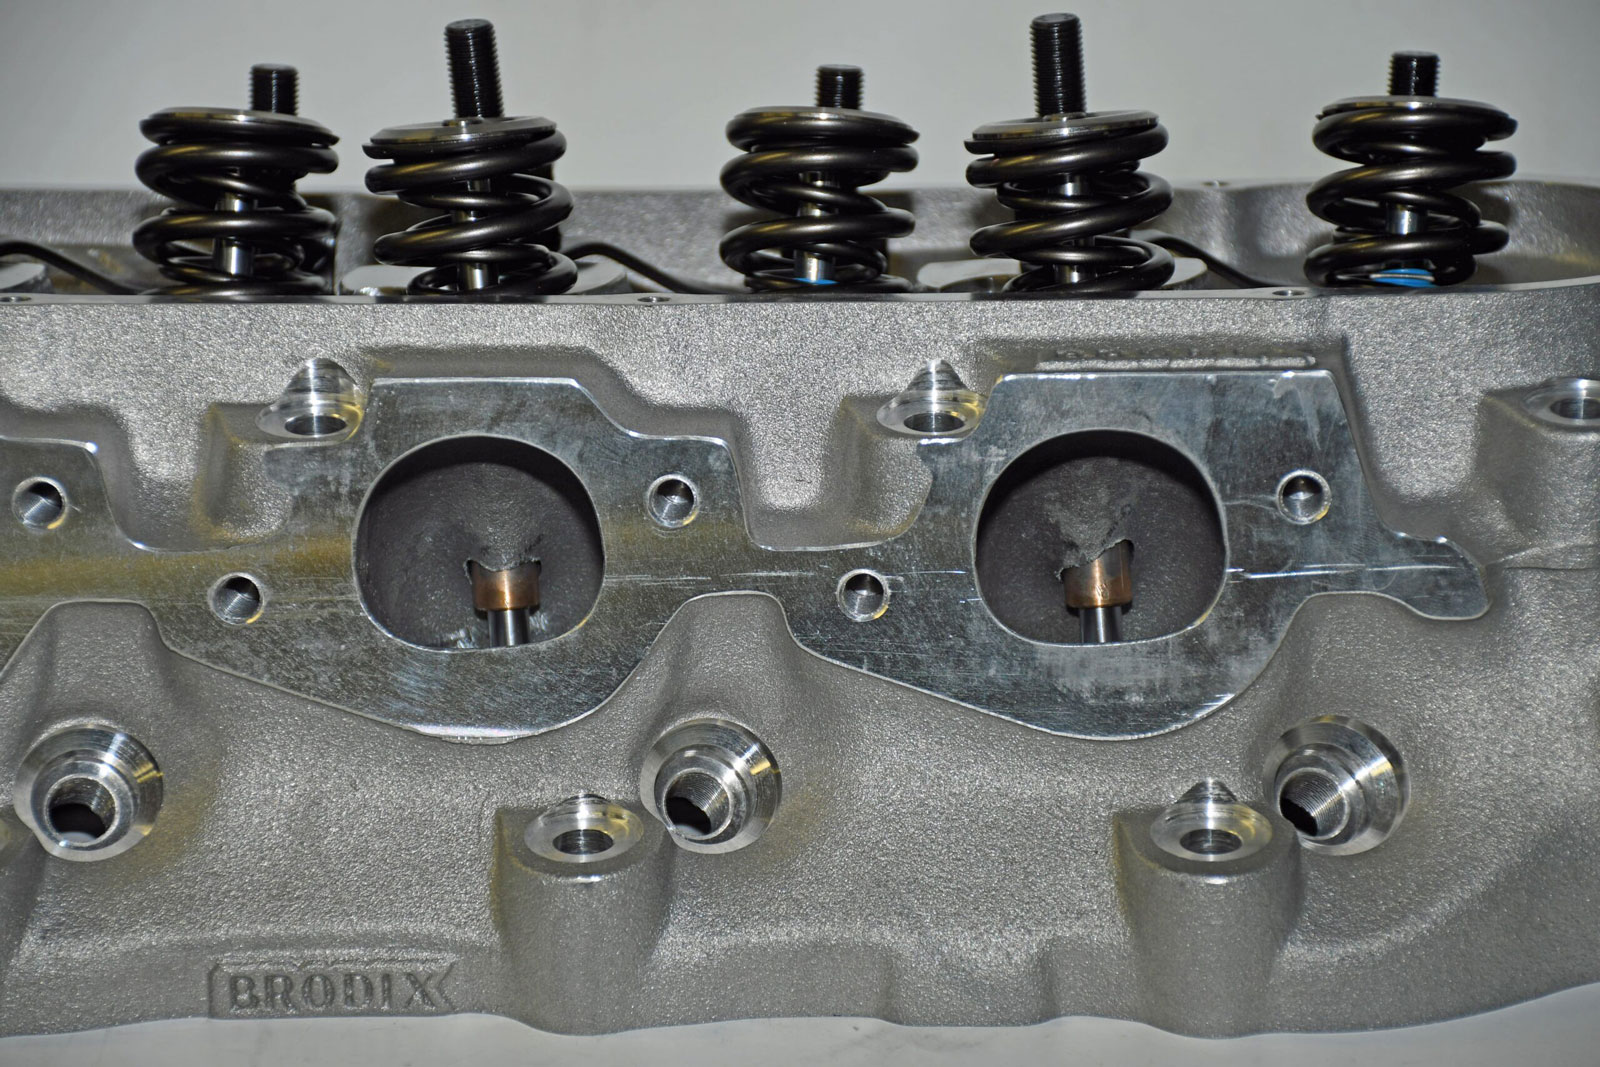
Photo 5: The exhaust ports on some heads such as these BB3-Xtra jobs from Brodix can be large. So large, that header tubes can actually hang into the port.
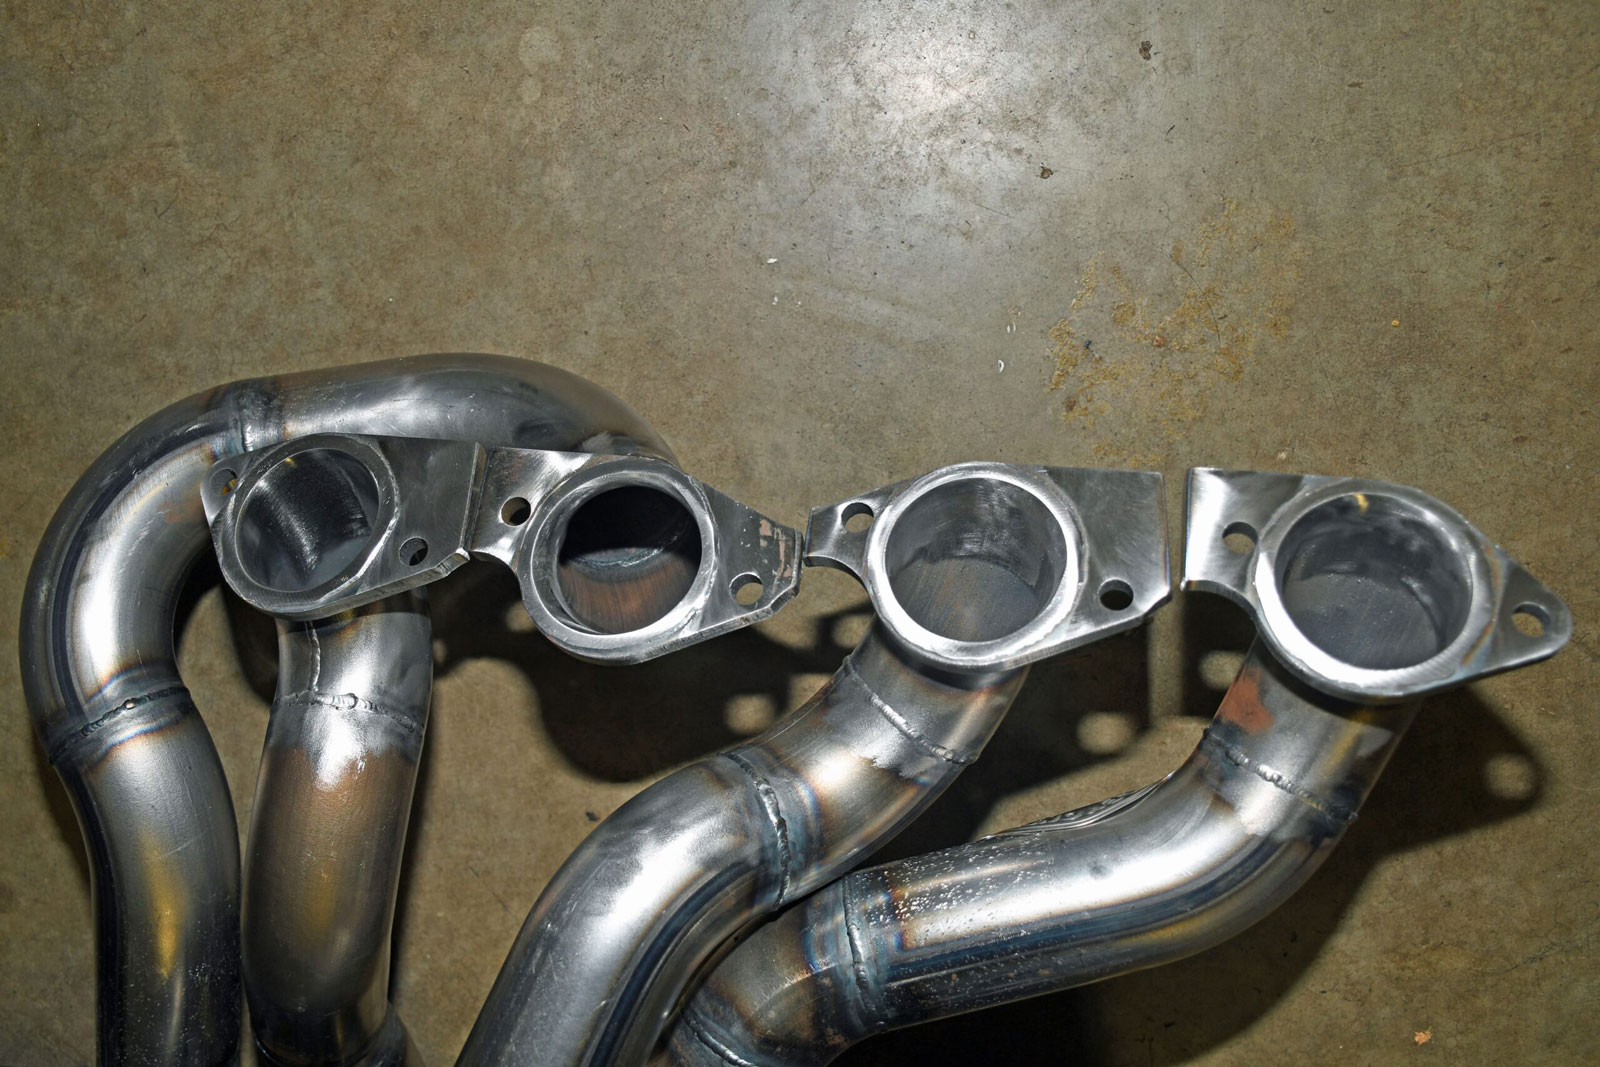
Photo 6: The Lemons Headers shown here have a 2.25-inch primary tube size. Note the machined 3/16-inch flange.
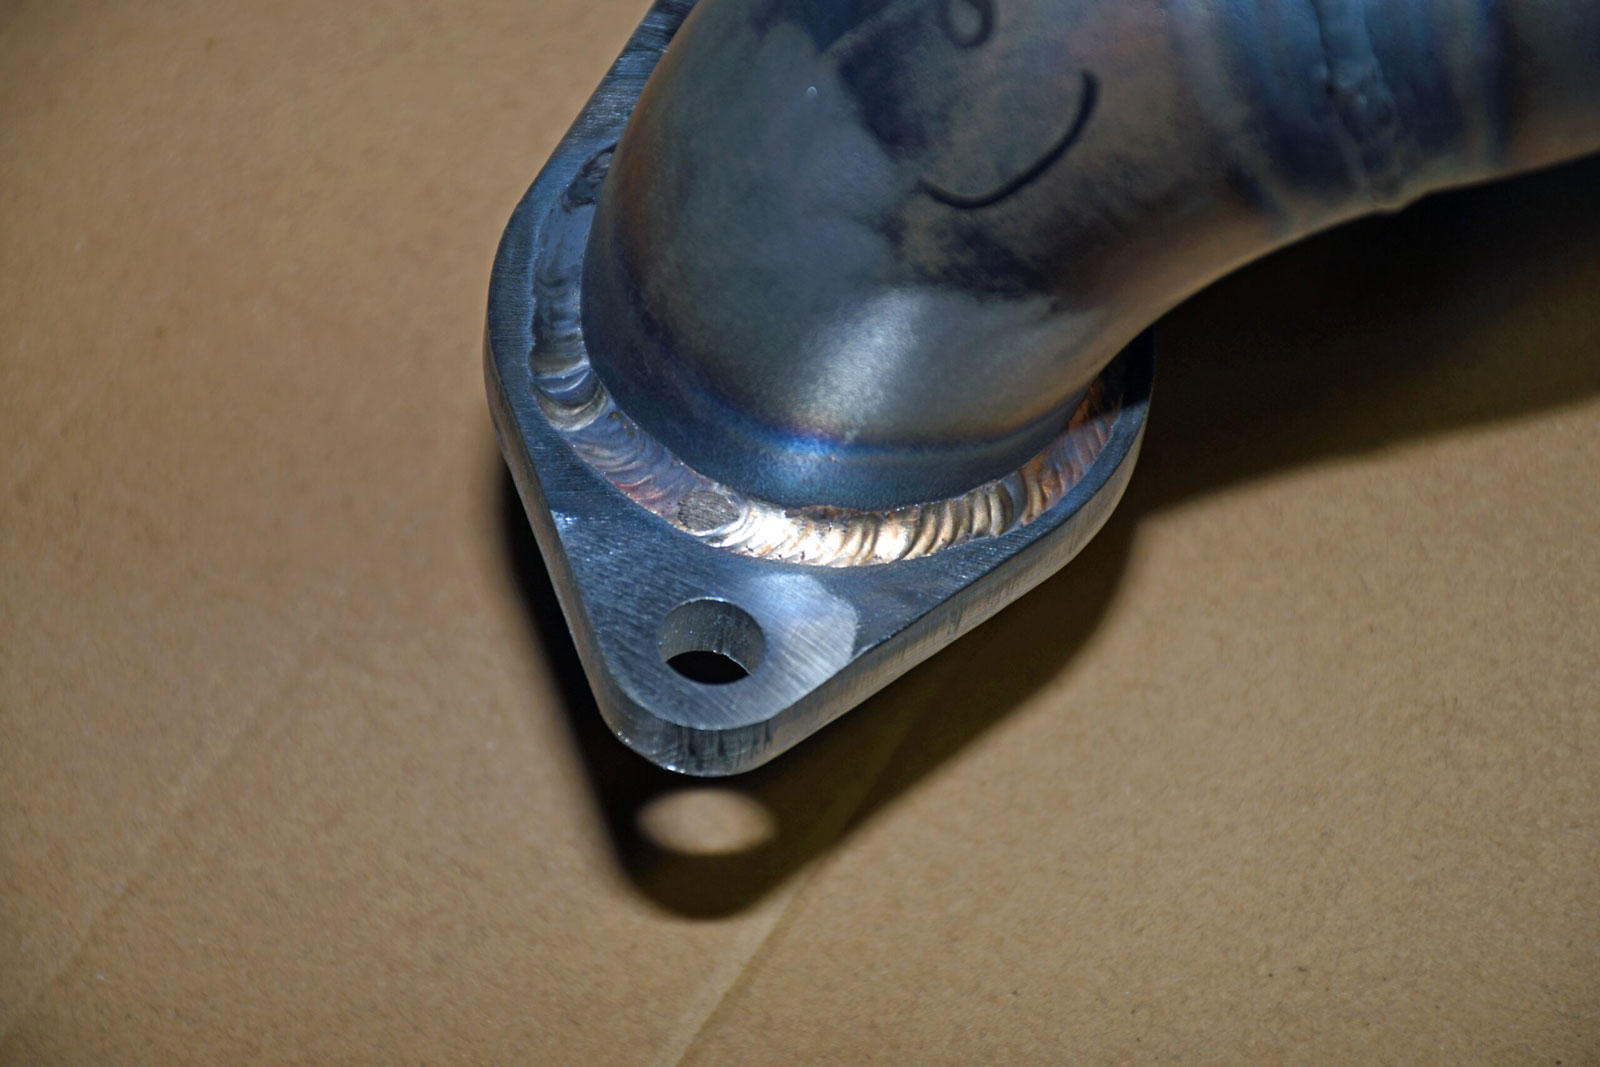
Photo 7: Quality custom headers will often be nicely TIG welded, as shown here. Attention to detail is a big part of what you’re paying for.
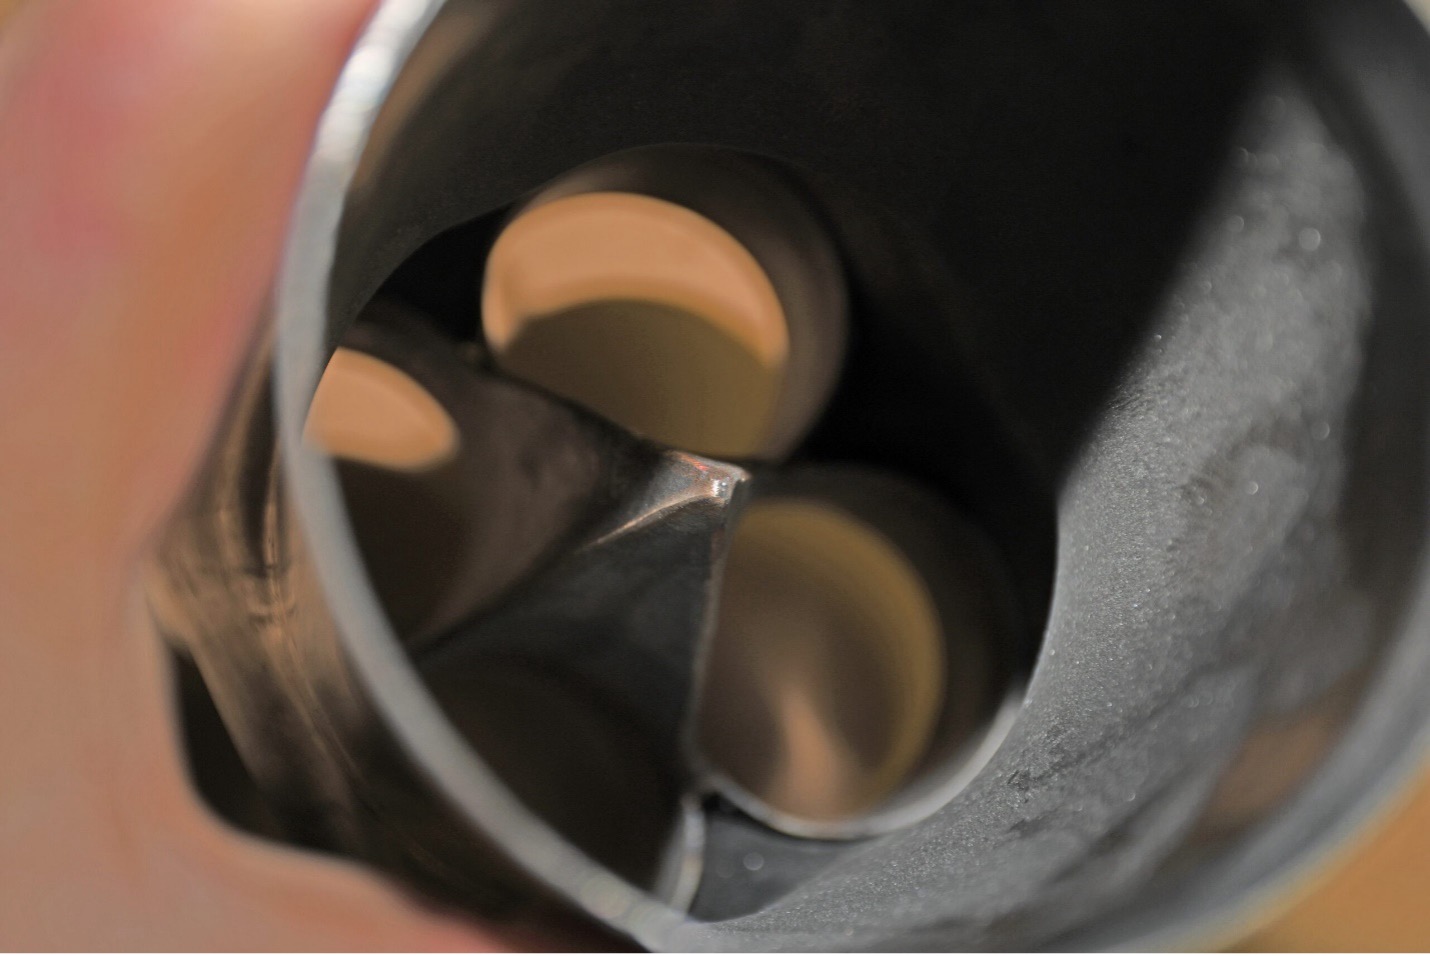
Photo 8: Downstairs, the slip on collectors on these headers make use of a merge spear or cone. FYI, these collectors have an outside diameter of 4-inches. There are plenty of other options available.
Byline: Wayne Scraba
Photo Credits: Wayne Scraba