

#BBPT-615A BB Pro Tour header for stock chassis-version can be made for factory AC
$1,950.00 – $4,200.00
Header Spec’s:
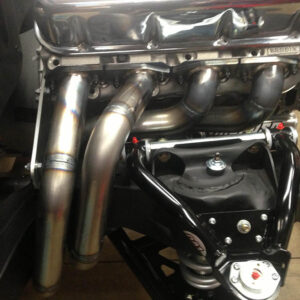
This header is available in a 2” or 2 1/8” tube size with a 3 ½” collector. All of the tubes are inside the frame. Our headers are hand made to order, so we can build them for any engine deck height and for any aftermarket cylinder head as long as the engine stays in the stock location.
What Fits: We used Prothane #7-505 polyurethane engine mounts to design with. The header will also fit solid motor mounts, Moroso #62510. It does not fit a mid plate.
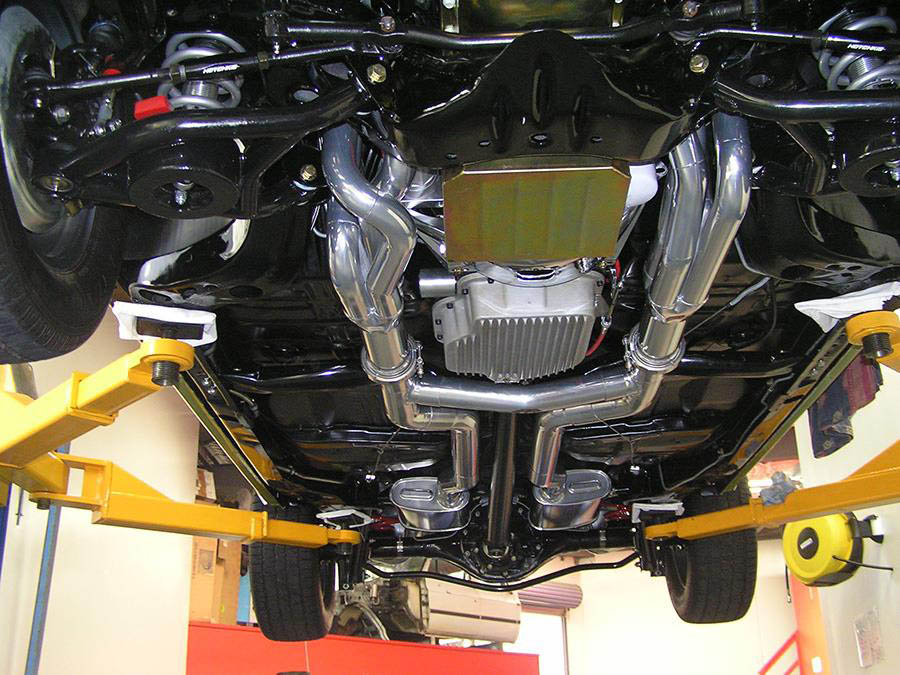
This header has excellent ground clearance. We used a Milodon low profile 7 quart oil pan #30951 or #30956 to design with. These pans offer easy access to the oil filter. The bottom of the header was ½” higher than the bottom of the pan. These oil pans have a kick out sump which the header has plenty of room for. Measuring from the side of a stock oil pan we have 4” of room on the driver side and on the passenger side we have
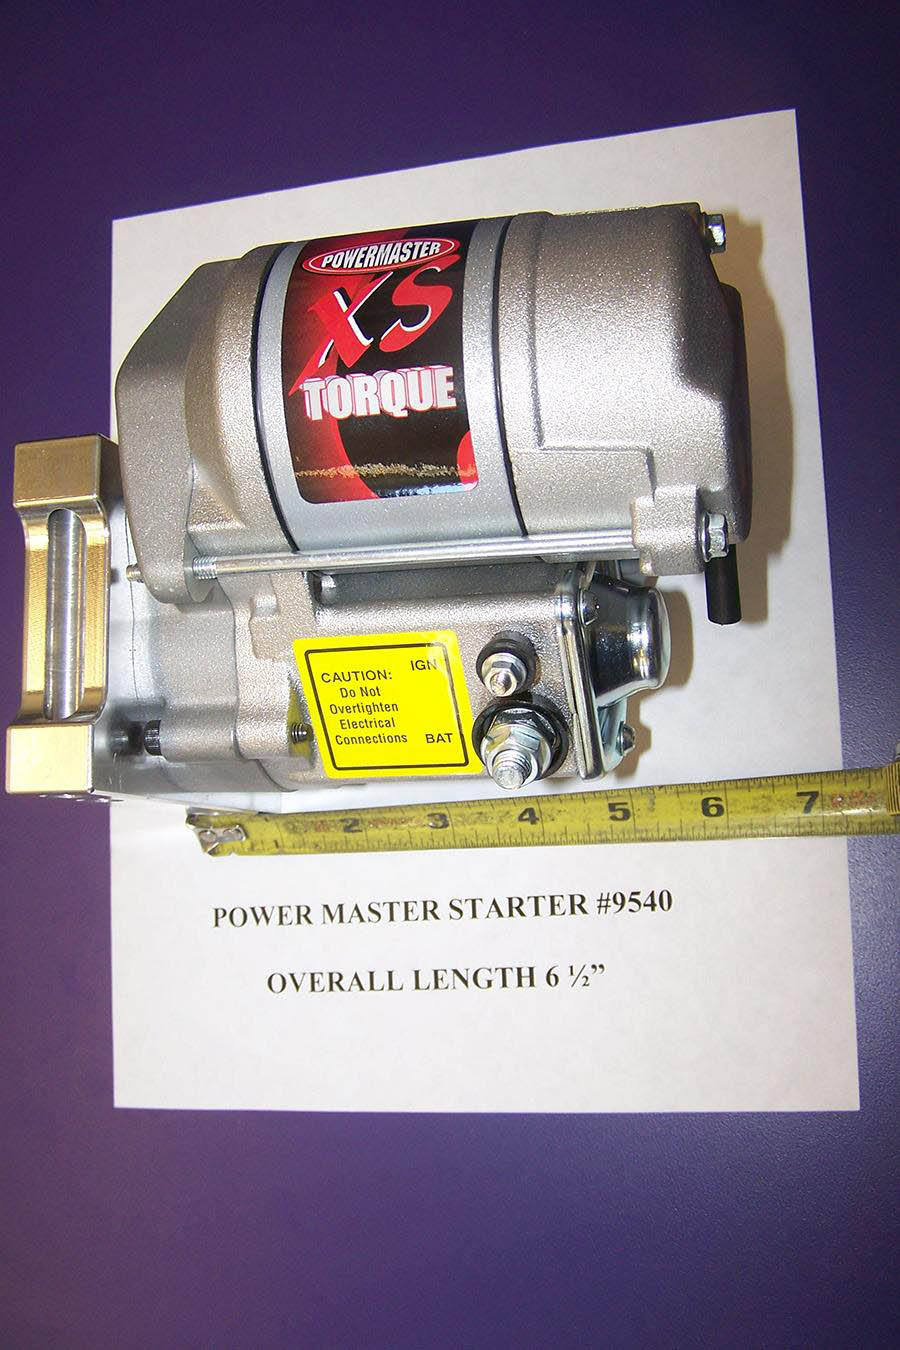
2 ¼” at mid pan with 3” at the bottom of the pan. If your oil pan has a driver side sump kick out that is under the filter it may make access to the oil filter difficult. With a straight sided oil pan the filter will come out the bottom easily. This requires the Powermaster #9540 which is a High Torque 6” mini starter.
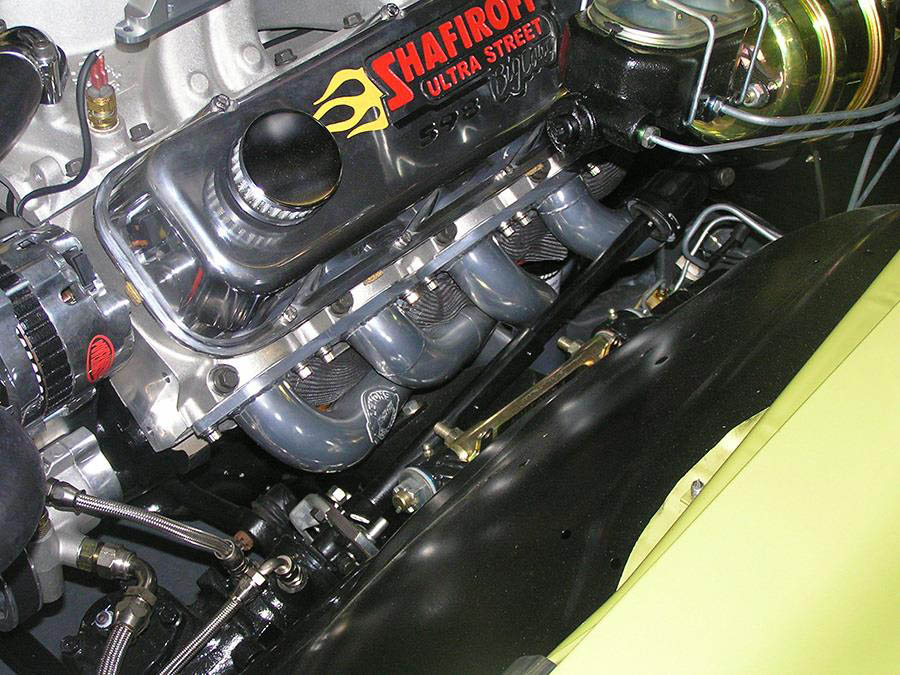
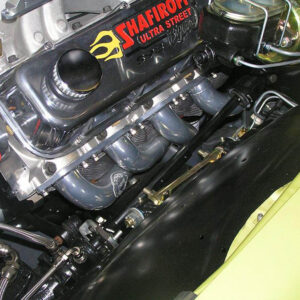
The steering column is the big issue with this chassis, but we still have good access the spark plugs. The header is also designed for clutch linkage and a power brake booster. If you are using a Lakewood type scatter shield you will have to slightly trim the outer edge of it under the starter area for header clearance. If your car has original factory air conditioning we can make the header for that, but we need to know about it.
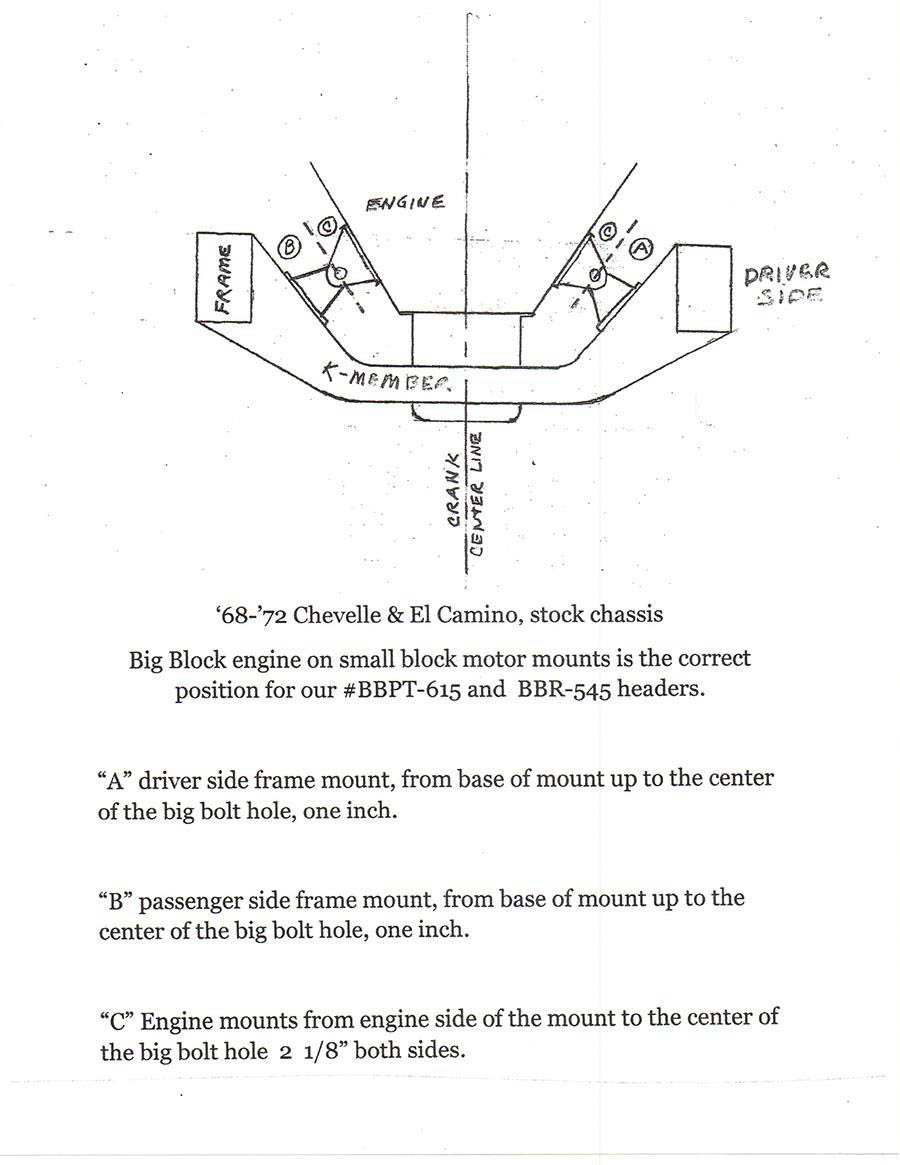
In 1968 and 1969 GM used 3 different frame stands for the front motor mounts. The frame stand that is needed for our header measures 1” from the bottom of the frame stand up to the center of the big bolt hole. (See photo) You can use a Prothane #7-505 poly engine mount or a Moroso #62510 solid engine mounts. This is called the tall narrow mount.
We have included a drawing that shows the measurements for the correct motor mounts and frame stands. You can buy the correct frame stands from Original Parts Group if needed. Their part number is #97CH001.
This header requires a Power Master #9540 or #9500 starter, or a CVR #5323 starter. This header will not fit factory type column shifter linkage, ask about Lokar ACA1800 replacement linkage.
We keep the Power Master #9540 starters in stock.
This header does not fit a mid plate.
615 page #2
Header installation: Pro-Tour Style
Passenger side, remove the starter and spark plugs, install the header from the bottom. With the header in place but not bolted to the head reinstall the starter, then bolt the header in place. If you have a scatter shield bell housing you will have to raise the engine to install the passenger side header.
If your Chevelle has a factory air conditioning box on the fire wall you will have to raise the engine to install the passenger side header
Driver side, Remove the clutch linkage, oil filter and spark plugs. This header usually installs from the bottom without raising the engine, but you may have to raise the engine slightly to get past the steering column. Install the header from the bottom. When you let the engine back down be sure that engine has centered itself on the frame stands.
Refer to the header installation tip’s page for additional information.
Header Installation: Race Style
The race style header has single tubes and slip on collectors.
Driver side, install tubes from the bottom.
Install #1 tube, only start the header bolts enough to hold the tube in place.
Then install #3, #5, #7, only snug the header bolts, do not tighten.
Next install the collector that has one of the mounting tabs stamped with a “L”.
One of the header tubes also has a “L” stamped on the mounting tab, those 2 “L” tabs go together when assembled. Once the collector is installed and bolted , you can tighten the header bolts.
Passenger side,
Install #2 (front tube) start one front header bolt, just enough to hold tube.
Install #4 (second tube) start one front header bolt only.
Next install the starter.
Now install the second header bolt in both front tubes.
Install #8 (rear tube) from the bottom and start both header bolts.
Install #6 (third tube) from the top, start both header bolts.
Snug all header bolt, but not tight.
Now install the collector in same sequence as the driver side, the passenger collector will have a “R” stamped on one of the mounting tabs.
Be sure to read the installation tip’s page before installing the headers.
Thank you for selecting Lemons Headers!
If you have any questions, give us a call 805-239-8998.
Additional information
| Metal |
|---|
Related products
-
#BBR-545 – ‘68-’72 CHEVELLE BIG BLOCK – BB Race header for stock chassis
$1,950.00 – $4,200.00 Learn More This product has multiple variants. The options may be chosen on the product page -
#BBPT-615 – ‘68-’72 CHEVELLE BIG BLOCK – BB Pro Tour header for stock chassis
$1,950.00 – $4,200.00 Learn More This product has multiple variants. The options may be chosen on the product page