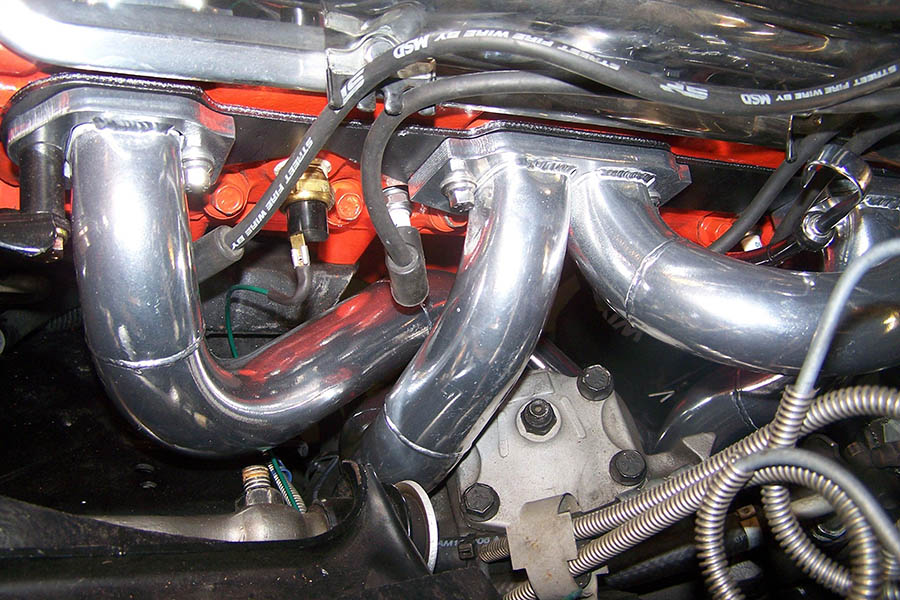
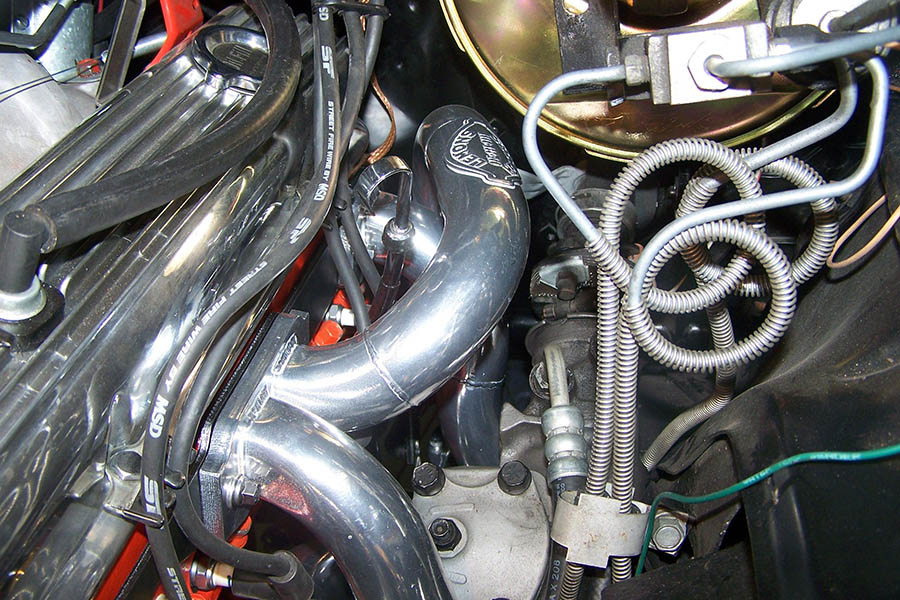
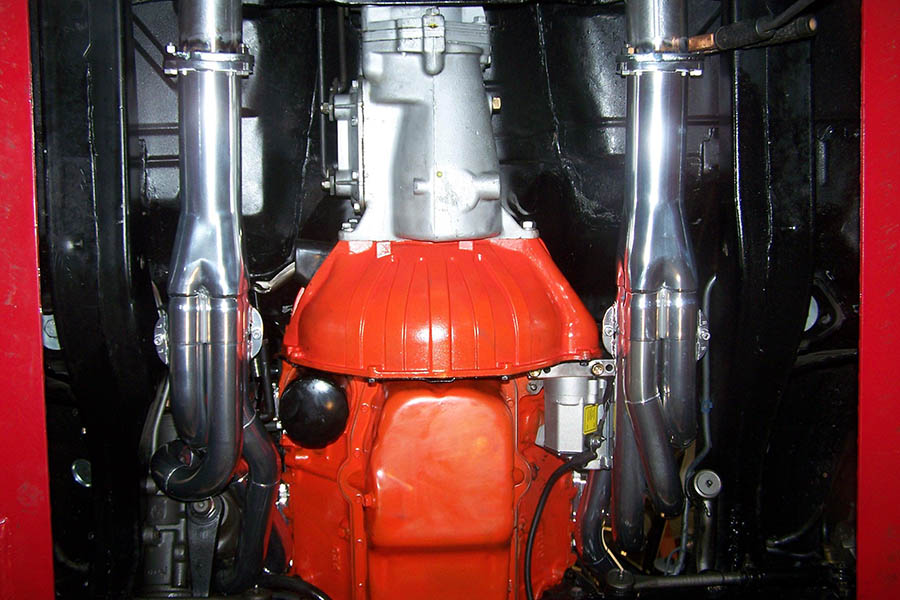
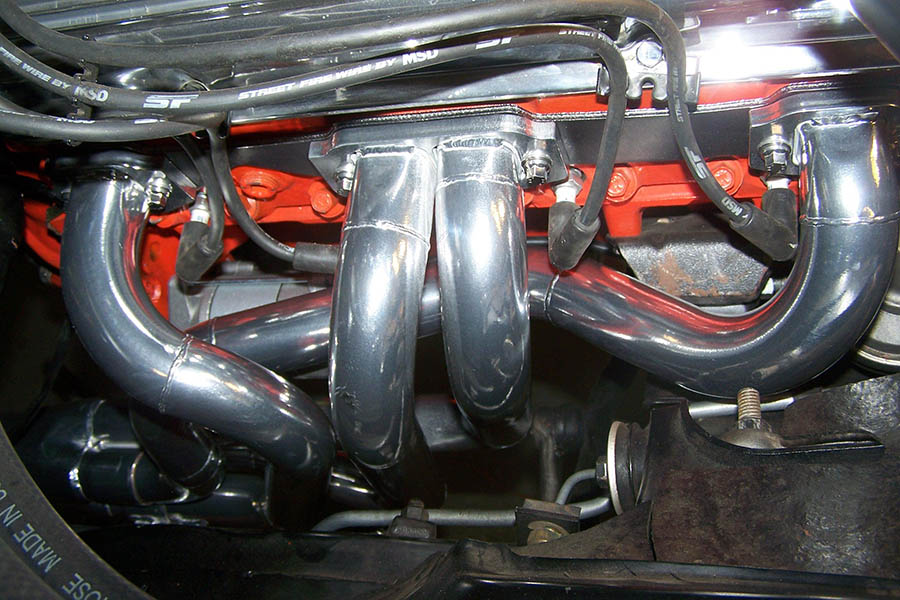
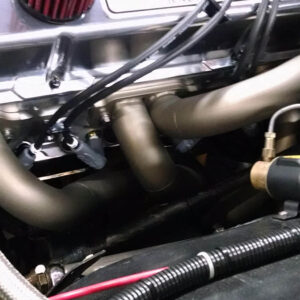
#SBPT-200 – ‘67-’69 CAMARO SMALL BLOCK – ‘68-’74 NOVA SMALL BLOCK – SB Pro Tour header for stock chassis with stock steering box. #SBPT-200A version can be made for factory AC.
$1,950.00 – $4,200.00
Header Spec’s:
This header is available in any tube size up to 2” with a 3 ½” collector, stepped or not. All of our headers are hand made so we can make them for any engine deck height and for any aftermarket cylinder head. All of the tubes are inside the frame with excellent ground clearance.
What Fits:
We used a Milodon oil pan #30900 to design with and the bottom of the header was ¼” higher than the bottom of the oil pan. Measuring from each side of a stock oil pan we have over 5” of room for a kicked out sump, this gave us good access to the oil filter and starter. The header requires a mini starter. A full size GM starter will not fit. We offer Power Master #9540 starters.
Spark plug room is very good, some plugs can be easily removed with a socket and extension and some will require a socket and an end wrench. The header is designed for angled spark plugs or straight plugs.
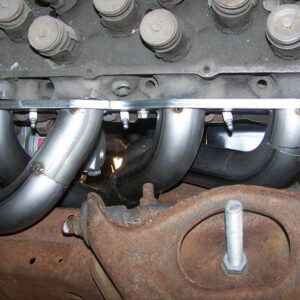
This design will fit side motor mounts or motor plates. It also fits up to a 9” power brake booster (Jegs #965-PB9513) and clutch linkage. It will NOT fit factory column shifter linkage or column lockout linkage. Lockout linkage can be modified to work. If you are using a Lakewood style scatter shield you may have to slightly trim the outer edge under the starter area. This header can be made in large tube sizes, it may be necessary to trim the back of the driver side motor mount frame stand, see photo.
Note: This header can be made to clear a factory air conditioning box on the firewall, but that will only work with angled spark plug heads.
Note:
It is important that you read our Yellow (Header Installation Tips) page, it will make the installation go easier and will save you time.
Installing the Pro-Tour style headers:
Driver side: The steering box makes this side difficult to install. We recommend installing the header as the engine is installed. You can also unbolt the steering box, 3 bolts on the frame and 2 bolts at the rag joint. Do not disconnect the center link or steering linkage. Just let the box hang by the linkage. Install the header from the bottom then reinstall the steering box.
Passenger Side: Depending on the oil pan kick out and starter position, this side should install from the bottom with the starter in place.
Installing this header built in the Race style:
Driver side: Remove the oil filter, spark plugs and raise the engine about 1”.
Install #3-#5 center pair from the bottom, do not bolt to head. Hold the bottom of these tubes towards the oil pan and install #1 tube thru 3&5 so #3 is to the outside and #5 is to the engine side. Start the header bolts to hold these tubes in place and lower the engine. Replace motor mount bolt. Install #7 tube from the bottom. Install the collector.
Passenger side: with the engine in place all tubes will install easily from the bottom, start front to back. Snug all header bolts until the collector is installed, then go back and tighten the header bolts.
Refer to our (Header Installation Tips) page for additional information.
Thank you for selecting Lemons Headers!
If you have any questions, give us a call at 805-239-8998
Additional information
| Metal |
|---|
